How To Build The Perfect Hair Care Routine In 10 Easy Steps
by BRENDA L. / 8. JAN 2024

Reading Time: 14 Minutes
Index
Not sure about your hair care routine? Having perfect hair doesn’t have to be a daunting task, but of course, good things come to those who put in a little effort. If your goal for the new year is to achieve flawless hair and make your mane one of your points of strength, this complete guide will tell you how to achieve stunning tresses in ten easy steps. Be ready to read all about how to get perfect hair, the best shampoo and conditioner for hair extensions, how to use hair oils, and styling tips and tricks for glamorous hairstyles and healthy hair!
Step 1: How To Wash Your Hair

A lot of people think that slapping any shampoo on their scalp will do the job, but in case you were wondering: yes, there is a “best way to wash your hair” method.
Yes, washing starts from the scalp, but don’t forget to massage your lengths and ends as well. Product build-up can occur on any part of your hair, and focusing on the scalp exclusively won’t give you a thoroughly clean finish. Be mindful and gently rub all of your scalp, not just the front or the top of your head – the nape of your neck needs some TLC too! Last but not least, never use your fingers to scratch your scalp when washing your hair – this can cause microabrasions on your skin, irritating your scalp and making it prone to greasiness and flakiness.
Should I double cleanse my hair?
There’s no harm in washing a second time, if needed. Double cleansing your hair can help you make sure that you haven’t left out any areas in your scalp, and can contribute to healthier, more voluminous hair.
What shampoo should you use for hair extensions?
Just make sure you’re using a gentle cleansing formula! That’s right, you’ll need to pick the right shampoo for your tresses. Always opt for products that are sulfate-free, paraben-free, and focused on moisture – especially if you’re wearing human hair extensions! But lucky you, I am about to introduce you to the best shampoo for hair extensions ever…
Quench The Thirst: Deep Moisture Shampoo For Hair Extensions

What is the best shampoo for dry hair and hair extensions? Whilst one may argue that there are tons of brands to choose for, not many are developed with Remy hair extensions in mind. And we all know that a flawless hairstyle can only benefit from adding human extensions to it, so let’s do some girl math over here: best shampoo for hair extensions + best human hair extensions = perfect finish – am I right? Stay with me: what if you could purchase both in the same shop?
Cliphair’s Quench The Thirst collection comes to complement the superior quality of our professional hair extensions and clip in hair extensions ranges alike. But what’s so special about its formula?
Enriched with powerful, moisture heroes such as Shea butter, Baobab seed oil, and rice proteins, this miracle hair wash recipe replenishes the hair fibres whilst gently cleansing the scalp and getting rid of any product build up, dirt, and sebum excess. The finish? Luscious hair and hair extensions that feel revived, refreshed, and smoother than ever – from the first use!
Explore the Quench The Thirst collection and stock up on your hair care staples before they’re gone.
Step 2: How To Use Conditioner

Conditioning is an often overlooked step in hair care routine, but sorry to break it to you – it’s unskippable. Washing your hair is the process that will determine how the final canvas (aka, your tresses) will feel right before styling. And yes, conditioning is an essential step that will manage the softness and tangle activity in your hair, often impacting how your strands will retain styling. Applying conditioner isn’t that hard, but it often depends on what type of conditioner you’re using. Some conditioners are quite heavy and should never come in contact with your scalp, whilst others are safe to use from root to tip without affecting the weight of your hair.
Is it bad to use conditioner on your scalp?
If you’re wearing products such as tape in hair extensions or even nano ring hair extensions, you should always avoid applying conditioner close to the attachments in order to prevent premature slipping and bond loosening. But if you’re not wearing hair extensions, conditioning your scalp can actually be very helpful. Just don’t slather the conditioner directly on your scalp: focus on your mid-lengths and ends, and then use the leftovers on your hands on your scalp, gently massaging it with your fingertips.
Best Conditioner For Hair Extensions: Quench The Thirst Deep Moisture

Cliphair’s Quench The Thirst Deep Moisture conditioner for hair extensions has been designed to restore softness, sleekness and hydration in parched hair and Remy hair extensions alike. The product, infused with silk aminoacids and Shea butter, is sulfate-free and paraben-free for a rich, softening formula that will help you detangle your hair and extensions right under the shower (or in the sink, if you’re using it wash clip in hair extensions!). It’s the perfect ally to give your tresses a good dose of tender love and caring before proceeding with drying and styling. A true staple!
Step 3: How To Use Hair Mask

Hair masks, sometimes also spelled as hair masque, are a deep conditioning treatment that you should resort to once a week or so. Definitely not something you’d do every day. Hair masks are powerful, usually powered by a more intense and richer formula that penetrates deeply into your hair fibres and cuticles to restore and revive dry and damaged hair and extensions.
Just like conditioners, hair masks are specifically designed to act on the most “tired” parts of your hair, therefore you should always focus on mid-lengths and ends. Again, if you’re wearing permanent hair extensions you should avoid applying any hair mask close to beads and attachments to avoid bond loosening and premature slip-offs. Usually, the leave-in time is around 15 to 20 minutes. Then, you can proceed with a cool rinse to seal the cuticles.
What is the best hair treatment for dry hair extensions?
Deep conditioning hair masks are perfect to treat dry and parched hair extensions. Cliphair’s Deep Moisture hair mask is packed with intensely moisturising ingredients that will take care of dull and dried-out hair and extensions alike, breathing new life into your tresses.
Quench The Thirst Deep Moisture Hair Mask For Extensions

To complete the Cliphair’s hydration-focused range, the Quench The Thirst Deep Moisture hair mask was developed with dry and parched hair extensions in mind. Safe to use on both natural hair and Remy extensions, this product is enriched with world-renowned ingredients such as avocado oil, coconut oil, fig extract, and honey to restore vitality,improve elasticity, and supercharge softness in your strands. Its formula is designed to lock the moisture into your tresses to promote long-lasting shine, softness, and manageability!
Step 4: How Do You Rinse Your Hair?
There’s a lot of talking about hair-rinsing, believe it or not. Ultimately, you can find what works best for you, or – why not? – alternate between one method and another. Let’s see some of the most popular hair rinse techniques, and what to expect from them.
If You Are NOT Wearing Permanent Apple Cider Vinegar Hair Rinse
@aisha.jam Replying to @user6223998730679 ACV uses are endless 🥰 #acvrinse #hairrinse #hairdiy #hairtips #hairdetox #healthyhairtips #beautyasmr #hairasmr ♬ original sound - aisha
The ACV hair rinse has been used in many different cultures for ages, and it’s one of the most popular hair rinses out there for those who would like to give an extra kick to their tresses. It promotes shine, helps against fungal infections and bacteria, and can help balance the pH of your scalp.
Here’s how to make your own ACV hair rinse at home:
- Get a carafe and fill it with approximately a pint (or 16 oz) of water.
- Add around 3-4 tablespoons of apple cider vinegar to it.
- Mix well (you can use the same table spoon, and give it a whirl).
- After shampooing and conditioning, pour the mixture over your hair.
- Let it sit for a couple of minutes.
- Rinse out with cold water.
For All Hair Extensions Wearers: Cool Water Rinse
@clauulynnn HAIR TIP THAT COST $0- rinse out you’re conditioner with cold water ✨ thank me later! This cold rinse at the end will also help to lock in moisture & prevent frizz! #findyourgrace #nourisheveryyou #hairtok #hairtip #hairgrowth ♬ original sound - Clau lynn
The cool water rinse, also known as the cold water rinse, is an easy method to seal the cuticles and relieve itchy and irritated scalps. Braving the cold water rinse might be a challenge if you’re a fan of steamy hot showers, but it’s one of the most recommended solutions in the hair care biz!
If You Are NOT Wearing Permanent Hair Extensions: Rice Water Rinse
@audreyvictoria_ My rice water routine done once every 2 weeks ✨ for hair growth #ricewater #hairgrowth #healthyhair #longhair #hairtok ♬ WHERE HAVE U BEEN - madi hocker
Another popular rinse that can supercharge your hair’s health and beauty is the famous rice water rinse. Praised for its benefits, it can help protect your tresses from friction and improve their elasticity. If you’re making rice for dinner, you can leave it to soak before cooking and use the rice water the next day for your proverbial rice water rinse! Here’s how to do it:
- Take your uncooked rice, and give it a quick rinse.
- Place it in a bowl, and add water.
- Leave to soak for 30 minutes.
- Strain the rice water into a clean bowl.
- After shampooing and conditioning, use your rice water rinse.
- Finish with a cool water rinse.
Step 5: Heat Protection For Hair
Now, if you thought that blow-drying your hair was a straightforward process, let me stop you right there. Before getting to that point, you will need to towel-dry your tresses – better doing so with a microfibre towel! – to remove the excess water.
Now that you’ve done this, you should prepare your hair for styling. A good primer for hair styling should always have a heat protection factor.
What's the best heat protection spray for hair?

Cliphair’s heat protection spray is the perfect tool to prepare your tresses for heat-based styling, including blow-drying. Not only does it offer protection against temperatures up to 230°C, but it helps rebuild damaged disulphide sulfur bonds for hair that looks and feels healthier, shinier, and more manageable.
Say goodbye to frizzy hair and pesky flyaways, and welcome a silky sheen effect that will take your hair to the next level with improved hold and long-lasting styling.
Step 6: How To Blow Dry Hair

Before proceeding with your blow-dry, you will need to rough-dry your hair until it’s about 70% dry. Slightly damp hair would be the perfect canvas: you don’t want to blow-dry soaking wet tresses, nor do it on bone-dry strands. If you have time, you can let your hair air-dry so that you reduce the heat and stress damage to a minimum.
Follow these steps for a flawless blow-dry:
- Divide your hair into small sections.
- Use alligator clips (or sectioning clips) to hold the sections away from the one you’re about to style.
- Use a round brush and roll your hair around it.
- Set the blow-dryer speed on high, and keep the heat on low/medium.
- Create some tension with your brush (without pulling excessively) to smooth down the hair.
- Run the nozzle of the blow-dryer down the section.
- If you have bangs, dry them last.
- Set your hair by giving it a cool blow of air.
Step 7: Pick Your Style
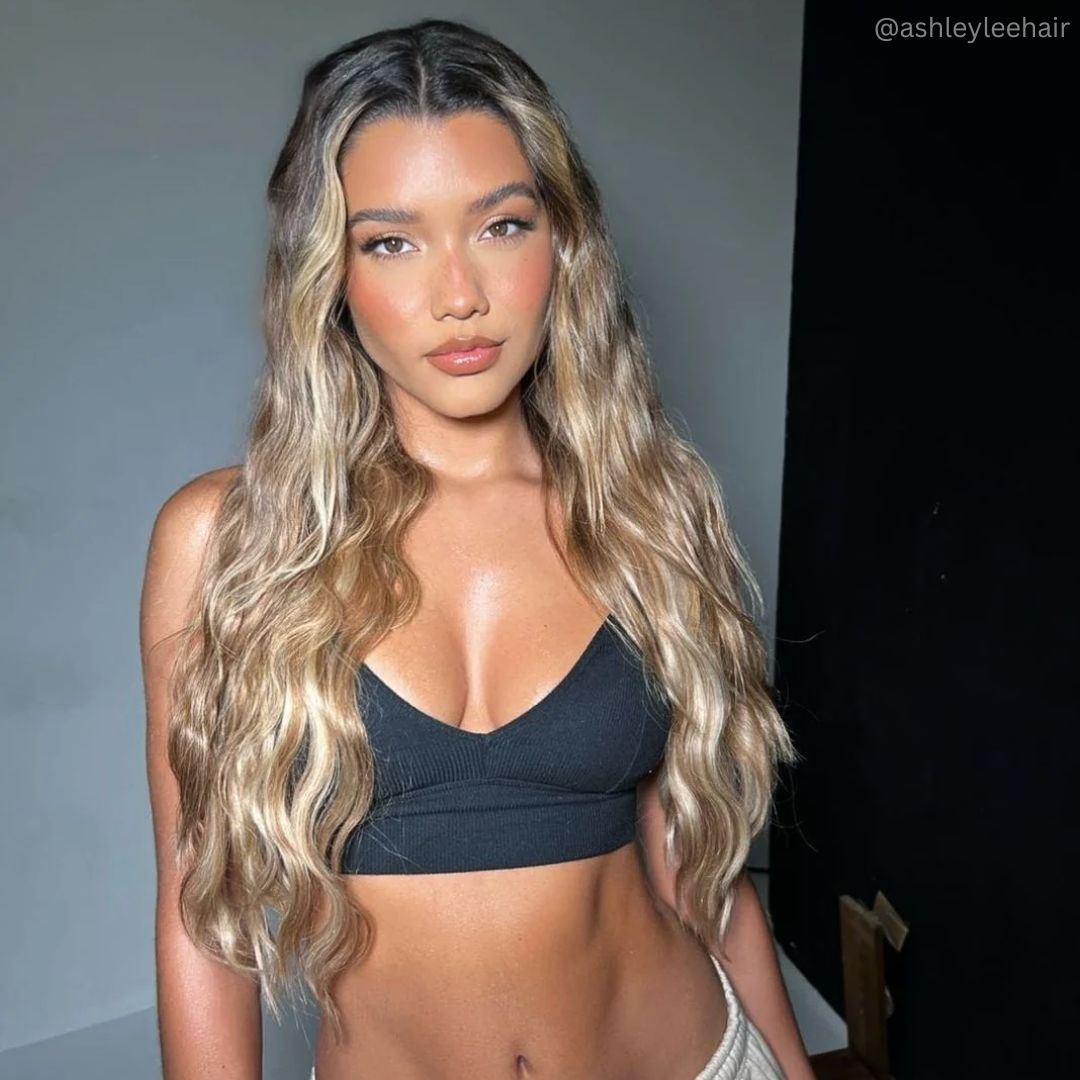
@ashleylamarca the theory that isn’t a theory but this was fun.… & my hair needs to stay down hahaha #hair #hairtheory ♬ original sound - ✰
Depending on what type of blowout you’d like to achieve, there are many different techniques that you can use. Rolling your hair inwards will give you a polished, retro finish; rolling it outwards will help you achieve curtain bangs (given that you have the right haircut and layers to achieve it), or a peppy Y2K feathered look.
Step 8: Apply Hair Extensions
@cliphairextensions Stop Scrolling! Discover Annalise Trendy Back-to-School Look, Elevated by Our 18” Seamless Hair Extensions in the shade 'BlondeMe'. Snag this stunning look with FREE Express Shipping NOW! Offer Ends Soon #WearCliphair ♬ Originalton - 🎀🍙Sia Collection🍙🎀
If you are not wearing professional hair extensions, it’s time to apply your clip ins.
Grab your favorite set of clip in hair extensions and follow these easy steps to get an even application and boost your mane with length, volume, body, and thickness!
- Section your hair neatly, creating rows that will help you prevent any tangling and tugging.
- Avoid applying extensions too close to your hairline and the top of your head. This area, professionally known as the Red Zone, is where hair extensions attachments will be easily spotted – something that you’d want to avoid!
- Gently backcomb your roots to create more grip for your clip ins, preventing the extensions slipping. If your hair is particularly smooth and fine, this step is crucial. You could also go a little extra and use some volumizing powder at the roots.
- Apply your first row of extensions to the bottom of your head close to the nape of your neck. Continue adding the rows of extensions working upwards. The smaller 1 and 2 clip wefts should be applied last to thicken up the sides of the head and face framing area.
Step 9: Use Hair Spray Where Needed
If you went for a curly, bouncy blowout, then chances are that you’ll want to enhance the hold of said hairstyle. You can easily do so by using a mist of lightweight hairspray, to preserve the bounciness in your hair whilst ensuring a long-lasting hold.
Step 10: Seal The Moisture

If you’re not going for a curly blowout, a quick way to ensure your hair has a sleek, glass-like finish and retains moisture would be to use a sheen-enhancing product. There are many options out there to seal in the moisture in your tresses, and whilst a lot of people swear by Argan oil, coconut oil, and other natural miracles, some others prefer a professional blend that can enhance your hair’s appearance whilst also taking care of hair extensions. For that purpose, we have developed…
Cliphair’s Moisturising Silky Hairspray
Looking for your unique miracle in a bottle that can do it all? The Cliphair’s Moisturising Silky Hairspray is infused with natural ingredients such as Argan oil, Sea Buckthorn oil, Olive oil, and Blackcurrant seed oil for a magical blend that will thoroughly take care of your hair and human hair extensions like nothing else. Designed to smooth down the hair cuticles and seal in the moisture, this product will give outstanding results in just a few spritzes. Ready for silky, soft, and noticeably shiny tresses?
Suitable for all hair patterns and all hair extensions types, use it sparingly and keep it away from roots and hair extensions attachments for the best results.
Your Hair Care Essentials
You now know the steps and some of the products we recommend to create the perfect hair care routine. Here’s a recap of all the products which we have covered as well as some extra essentials to take your hair care routine to the next level!
- Moisturising shampoo, conditioner, and mask: these products will help you create a flawless canvas on your hair, preparing it for optimal styling.
- Leave-in conditioner: if your hair is still stubborn and unruly, investing in a good leave-in conditioner can help you detangle your hair and give it the extra moisture it needs to go through the day.
- Silk scrunchies: when you go to sleep, protecting your hair at night is an essential step. Tying your hair in a silk scrunchie will help you keep it together and prevent tangling and matting. Why silk? Simple, silk and sateen are much more gentle on your hair cuticles compared to other fabrics, ensuring that your strands don’t get roughened up!
- Pintail comb: this is the perfect tool to create neat sections and clean parting.
- Detangling brush: a staple in hair extensions care, and an essential to get rid of knots and tangles in a gentle way, on wet or dry hair alike.
- Round brush: having a good selection of round brushes will help you get the blowout of your dreams.
- Wide-toothed comb: another staple for detangling and dealing with wavy hair.
- Heat protection spray: a true essential to shelter your tresses from heat damage.
- Microfibre towel: simply put, your best friend. Once you try a microfibre towel, gentle to hair cuticles, you will never go back to regular ones. Promise.
- Hair oils or Moisturising Hair Spray: sealing the cuticles for enhanced moisture, reduced frizz, and long-lasting nourishment? Sorted!
- Bobby pins, claw clips, and sectioning clips: styling essentials, and – why not? Fashion accessories!
- Dry shampoo: for those days in between washes, some dry shampoo can revive your hairstyle and freshen up you roots, giving you more volume and temporarily getting rid of the excess of sebum. NOT to be used instead of shampoo… This is just an “in between” quick fix!
Conclusion:
Now that you know everything about how to build a hair routine, why not get styling? Explore new looks, and find your inspiration among our collection of styling blogs. And if you don’t own them already, come and find your perfect hair extensions match by exploring our clip in hair extensions collection today!
Suchen Sie makelloses, salonwürdiges Haar, ohne die Bank zu sprengen? Bei Cliphair haben wir für Sie luxuriöse Clip-In-Haarverlängerungen für schnelle Transformationen und dauerhafte Haarverlängerungen für langanhaltenden Glamour. Extensions benötigen besondere Pflege und Wartung, um ihre Qualität zu erhalten. Deshalb haben wir alle erstklassige feuchtigkeitsspendende Haarpflegeprodukte erforderlich, um Ihren Stil auf den Punkt zu bringen.
Brauchen Sie den perfekten Farbton? Stöbern Sie durch unser komplettes Sortiment an Echthaar-Extensions in über 70 satten, seidigen Farbtönen oder schauen Sie sich unsere KOSTENLOSER Express-Farbabgleichservice um jedes Mal eine nahtlose Mischung zu gewährleisten.
